 English
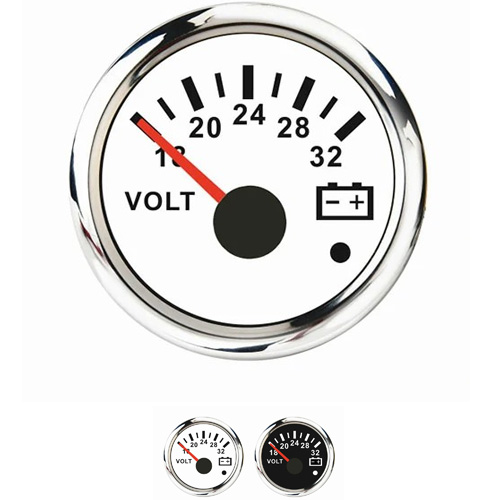
 boat voltage gauge wiring diagram
How to wire the boat voltage gauge? Let us show you the steps below:
1. First remove the reading lamp assembly and wait beside the tools and materials. This is the original wiring. The DVD was installed on the car as soon as it arrived. I kept an eye on the wiring. Since the interior rearview mirror was still manual at that time, considering the installation of automatic anti glare rearview mirror, I left more positive and negative poles of acc1 and reverse Lamp + poles, and went directly into the ceiling.
2. It's really convenient when I go to the interior rearview mirror later. Connect the three wires directly and fix it. It's also simple to connect the voltmeter this time. Directly connect the positive and negative of acc1 and wrap the tape to expose the right connector I made originally. Redo a female plug and crimp the power supply of the rearview mirror and the voltmeter together.
3. After crimping, try whether it can be displayed. The LED also flashes, the voltmeter is also equipped with alarm buzzer and temperature display. It can set cyclic display. The probe is arranged. This is the original thermometer and hygrometer. There is no background light and it is not a digital display. This time, the voltmeter is just on, and a digital display of temperature can be seen at night.
4.Finally, compared with this voltmeter with fluke's multimeter, it was found that the voltage was 0.2V low, and there was a calibration screw behind it. After calibration, all of them were done well. The wires of the voltmeter were sorted out and did not get into the wire cover. Because the upper part of the wire cover was not caused by Suzuki's original factory, some shook left and right, which was very slight. This time, it was just supported by the harness of the voltmeter, I won't row in.
That's the steps , you can follow us and try as this boat voltage gauge wiring This series of products adopt post programming technology, which can modify the driver as needed to match a variety of analog input signals. The harness connector is equipped with a snap, which can ensure the firm connection between the instrument and the harness, that is, it can still work reliably in the occasion of strong vibration..


Get a Quote / Info