electric water temp gauge install
A case of installing an electric water temp gauge to a car, a guide to non-destructive installation methods: remove the plug on the high-voltage package, peel off the front end of the instrument signal wire (yellow wire), expose the copper wire, tighten the copper wire, go through the gap on the plug, insert the copper wire into the hole on the plug, similarly connect the green wire, and finally plug the plug back into the socket, which has the advantage of not damaging the wires of the original car, Moreover, it has good contact and is easy to install and maintain. It is not recommended to damage the wire sheath of the high-voltage transformer to directly connect wires.
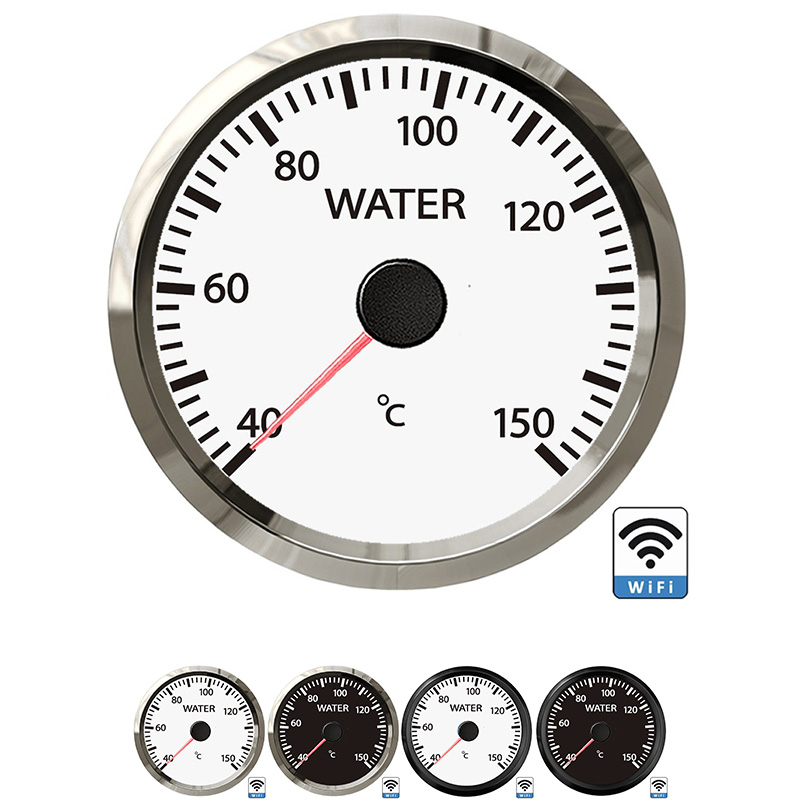
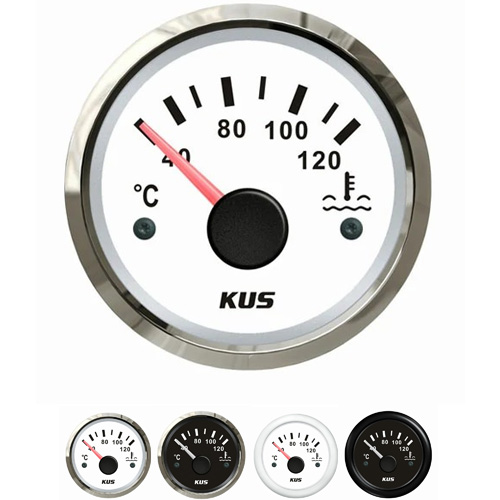
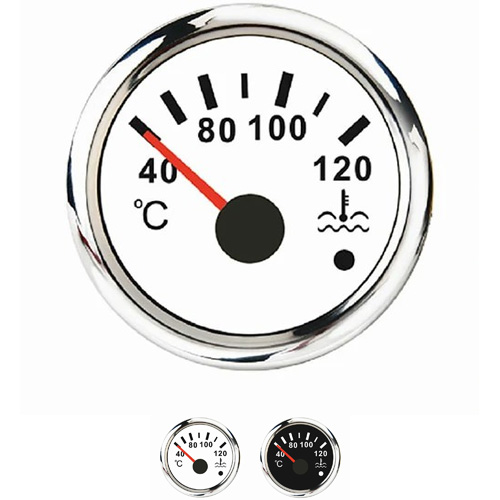
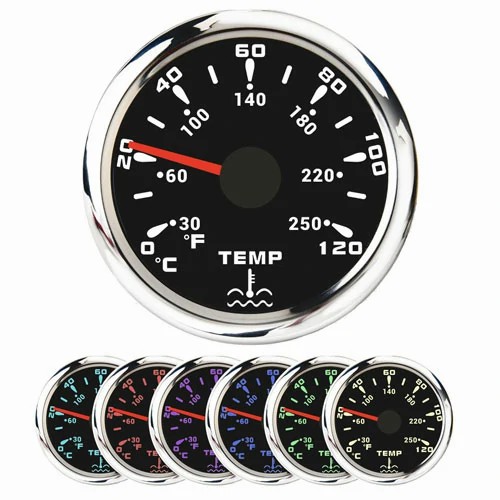
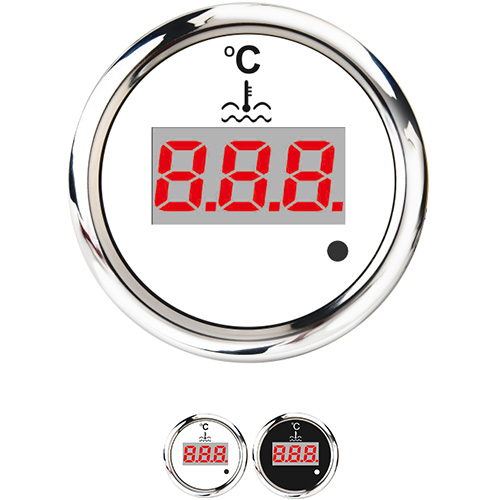
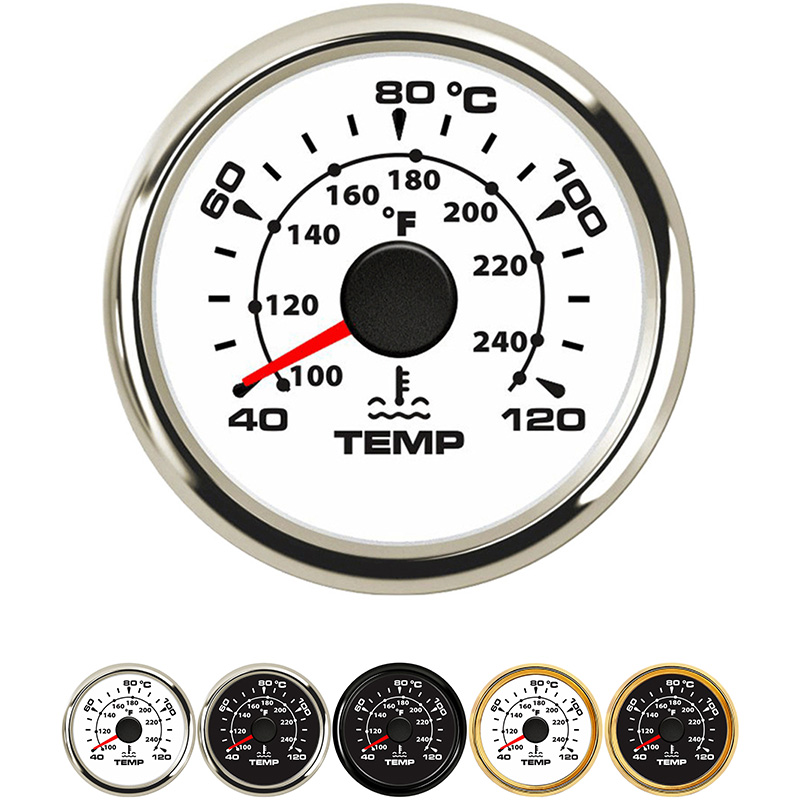
Our company's electric water temp gauge is $12.8 per piece EXW price ! The water temp gauge is installed on the instrument panel in the cab, and the live wire is connected to the water temperature sensing plug on the body. In this way, the engine temperature can be displayed in time. Install the sensing plug on the upper water tank, and then install the meter on the instrument panel in the cab .
Find the water temperature sensor . The B series engine has two water temperature sensors , one to the computer and one to the instrument . The sensor signal to the instrument is taken . One is the sensor of the water temperature gauge , which is a wire. It is used to display the temperature of the cooling water or coolant on the electric water temp gauge and adjust the fuel supply during start up . The other is a sensor for cooling water or coolant , which is a two-wire sensor . The coolant sensor is used to control the electronic fan. The electronic fan will work when the temperature is high . For connection of engine water temperature sensor , pull out the plug, peel off the corrugated pipe and expose the three wires inside. The red wire of the digital meter is connected to the green red wire of the sensor, and the yellow wire is connected to the yellow wire. Be careful not to cut the wire . Just peel off the wire skin and connect it, and then wrap it. This will not affect the original instrument . Then route . Connect the power cord and complete the installation .
 English
Get a Quote / Info