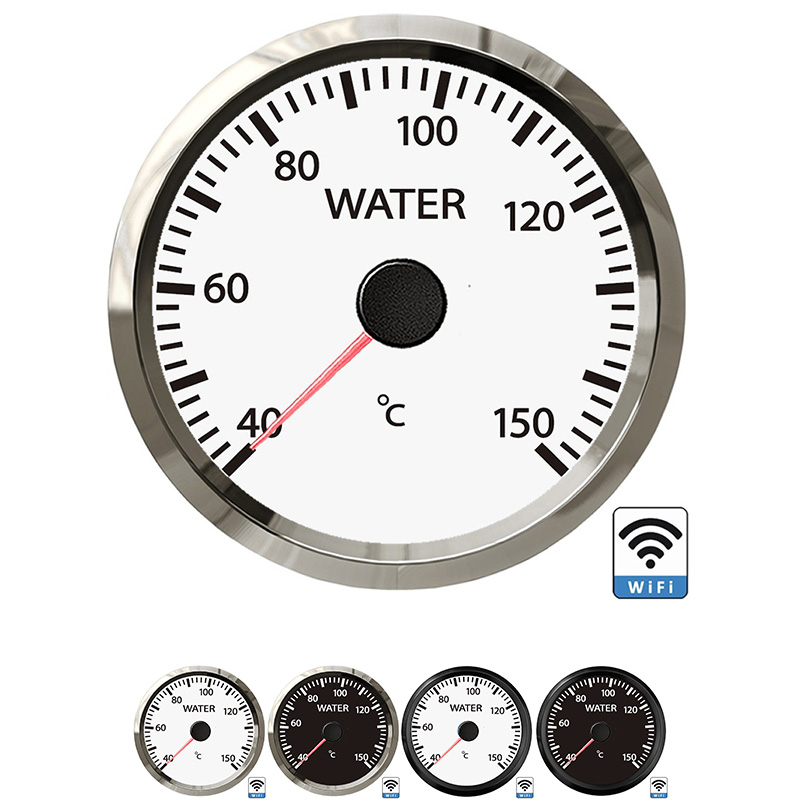
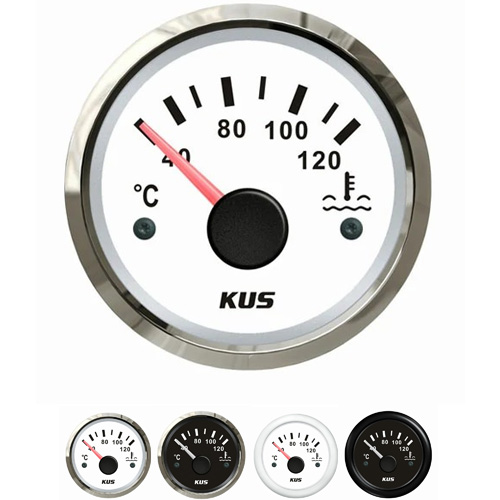
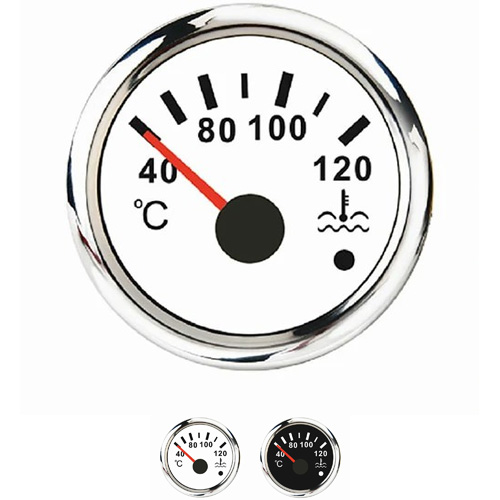
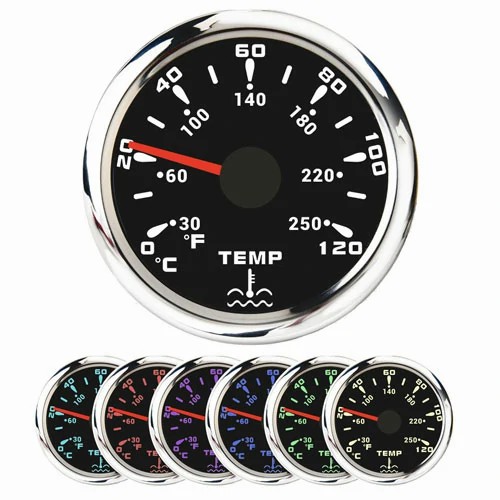
how to remove mechanical analog water temp gauge
When disassembling the vehicle, first remove the panel strip at the key on the host, then remove the panel around the host, and pry it out from under the panel with dark force. When taking out the instrument panel, pay attention to take out the clips left on the plastic panel of the original vehicle. Do not break or fall into the instrument panel. Try not to pull the long wires behind the main engine. Pay attention to arranging the wire harness behind the main engine. Because the position of the main engine of the original vehicle is small, there is not enough space for installing the wire harness.
Some cars do not need to pry the panel of the original car. Remove it together with the key of the original car audio head unit. Take it out together with the glove box below. When installing the main unit, pay attention to arranging the wires. Otherwise, the main unit will not be stuck in place during installation. You can take down the car with a special key and pull it out. There is no need to remove the panel, but the panel must be protected with a towel to avoid scratching.
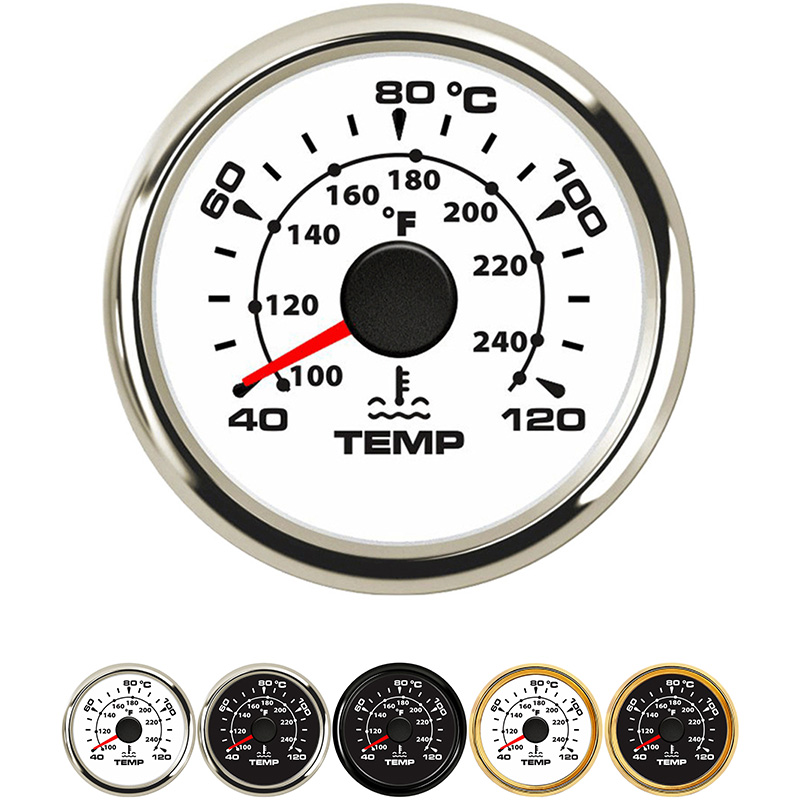
Disassemble the panel of the host. When disassembling the panel, use a towel to cover the fulcrum of the rubber knife and pry it open, because the instrument panel is soft and easy to be damaged. When Yida removes the cover plate, be careful to pry it in front of you. If it is warped, it will damage the clamp. Then pry up the baffle under the instrument panel of the air conditioner with a rubber knife and pull out the harness. Looking up, you can see that there are two screws fixing the panel. Only when the two screws and the two screws above are removed with a screwdriver can the panel be pried out. Then remove the mechanical analog water temperature gauge from the panel.
When disassembling the water temperature sensor, open the water tank cover to release the pressure and air under normal temperature to avoid scalding. Find the water temperature sensor near the water supply pipe and unplug the sensor plug. Unscrew the water temperature sensor anticlockwise with an open-ended wrench or an extension socket. Install a new sensor in reverse order and replenish the coolant. When the vehicle is started for testing, the new water temperature sensor will be delayed.
 English
Get a Quote / Info